IntroductionIn my quest to make the Jeep a better daily driver and make road trips more pleasant, I broke down and bought an aftermarket A/C kit. I keep the hard top on year around since I've got no place to but it and it's a two man job and I'm one man down.
In my research, I found that there were a few different sources for a kit. The ducts/evaporators are their own copies of the OEM unit but they're otherwise very similar to the factory units. There are some other minor differences. The compressors are not bolt-on factory units. Rather they use a more universal compressor that requires an additional bracket to mount it to the factory location. This will come up later when I order my kit.
OrderingSo this is where things get a little more complicated and caused several set backs which wouldn't have happened if I bought the normal kit everyone else does. The issue I had was that I use a Kilby OBA system which had a bracket and a shim that sit between the factory compressor and the engine bracket. Like I mentioned earlier, the A/C kits use a universal compressor and I didn't want to stack two bracket on top of each other. So this limited my choices down to one supplier,
www.Jeepair.com. Unlike the other sellers, they have a kit that is used for people who do engine swaps and have them supply their own compressor. The kit was actually $50 cheaper this way but you'll see it wasn't cheaper in the end.
So after waiting, the boxes arrived.

Inside was the compressor, evaporator, condensor and all the misc. parts.
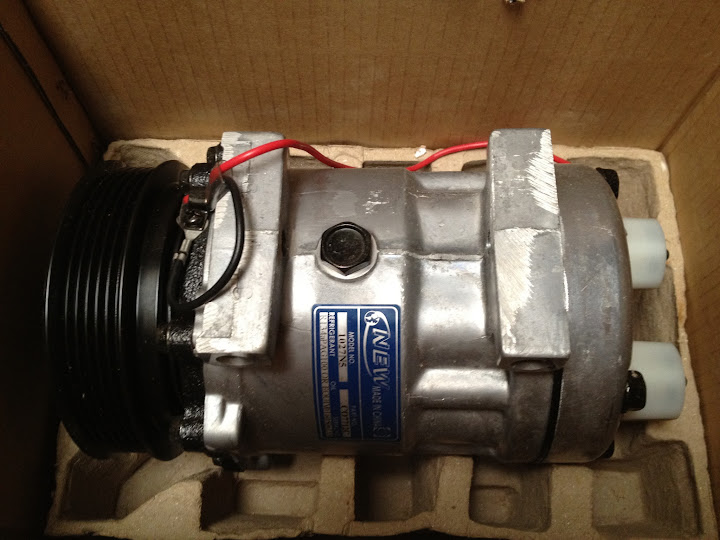


Since, I bought the compressor-less kit it came with a universal hose set which required the hoses to be cut to length and crimped. This was a good thing because the hoses need to go around the York compressor for the OBA and the pre-crimped set don't account for this and would need some tweaking anyway. You'll have to either arrange with an A/C chop to crump them or do as I did and buy a crimper. I recommend getting the crimper. (I'll get into that in more detail later.)

 The Install
I ran into some clearance problems which I didn't like so I trimmed the mounting bracket of the evaporator. It was pressing against the bracket for the HVAC and was causing the evaporator to not sit flush. After some trimming the evaporator was bolted in. For some reason my evaporator is a little crooked. I think the tolerance for the evaporator as one way and my dash are the other.
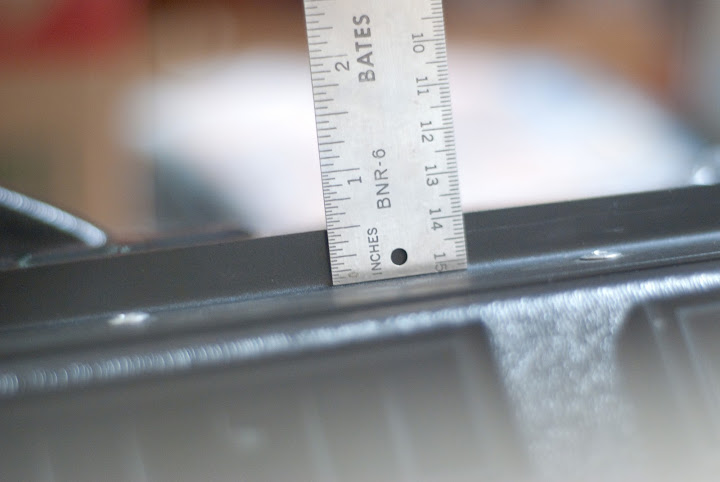

This caused the expansion valve to be pressed against the factory ducting which I didn't like either.


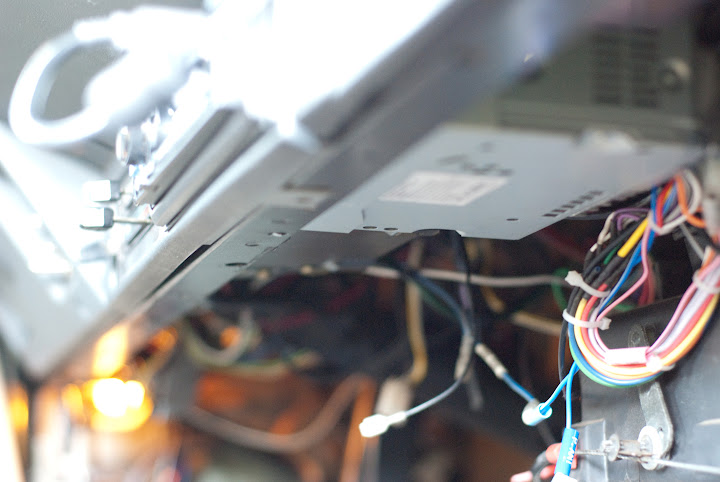
To get the evaporator bolted to the dash a stud on the underside of the dash needs to be cut off. The stud holds the ash tray to the dash.
Also, to get the condensor mounted you need to cut a two slots in the grill. Easiest way I found, was to Dremel two vertical cuts and then bend the tab back till it breaks off.

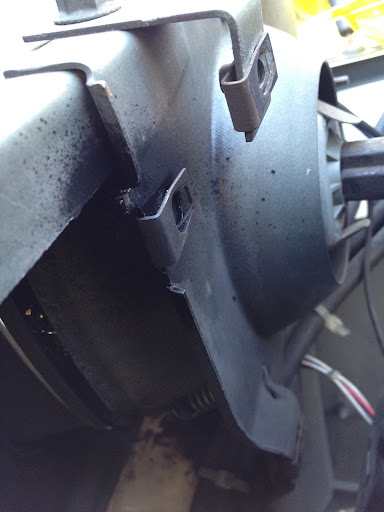
I was able to wiggle the radiator away from the grill without having to drain it since I replaced the stock fan with a FOMOCO fan.
It's a tight fit but the condensor can fit between the grill and radiator. You will want to attach the hoses to the condensor before putting the radiator back. There isn't enough room to get a wrench in there to do it later.

Because I bought the kit without the compressor I had to buy the hardware for the compressor myself. These are metric bolts and had to be special ordered from
www.fastenel.com. The stock bolts are 8.8 1.25x100mm.

The compressor goes on only one way. The distance between the bolts is different so if it doesn't line up flip the compressor over.

So, here's what's left to do, mount the dryer then address the hoses.

The instructions don't really give you much info on how to mount the dryer. I've noticed in some cases, they send a universal dryer with the band bracket while other times why send a dryer with the bracket welded to the dryer. I got one with the band and sort of guessed where it would go. There's a flat area under the jack sticker that's where the factory one goes. I mounted the bracket mid-way on the flat which could have been raised up a few inches as you can see. The high-pressure switch needs to screw onto the dryer and to get enough room it must be mounted high on the fender.

To crimp the fittings I ended up buying a MasterCool 71550. I found
Amazon.com to be the cheapest place to get it.

Make sure you read the instructions. I found that going a little over the recommended line kept the hose from leaking. If you get the universal hose, I also recommend paying attention to the clocking of each fitting. If you do this correctly the hose won't bind. What I mean is if you take a hose and twist it it will eventually want to coil onto itself. To prevent this make sure the fittings are aligned with each connection. Otherwise you could run into problems if two ends are angled in opposite directions.


Because some time had passed between when I mounted the condensor and when I started making the hoses I learned the hard way that the radiator was in the way. So out it comes, again.


For the next part you need to get a 1.25" bi-metal hole saw. I got mine at
Amazon.com. I recommend you drill at a slow speed. The bit can get hung up causing the drill to want to torque out of your hands.


Here's a trick for getting the hose and grommet in place. Instead of trying to shove the hose and grommet at the same time, push the grommet to one side and let it slide onto the fitting where the metal is. Now push the grommet into place. Then lube the hose with Windex or soapy water and shove the hose through. It will slide through the grommet easily.

Once everything is tightened you should be good. Double check that all of the compression fittings has a green o-ring and is not pinched or damaged in any way. I did fine one location where the o-ring was pinched and replaced it. Luckily I caught it before getting the system filled. Also make sure you'll be able to get to the two caps on the low and high pressure lines.
 Almost Done
Now comes the moment of truth and about $150. Taking it to a shop and getting the system filled. This takes a few hours as they will do a vacuum test and then a fill. The vacuum test purges the system of air and tests for leaks. The next step is to fill it and see if it holds pressure. Now, this is where you really see if your crimps will hold. They charge the system to over 200 PSI and if it leaks you'll know. If it doesn't you're done!

 Conclusion
So, was it worth it? Yes. The next day was well over 100* and having cool air was nice. Almost too nice. The vents are at your knees and when turned up the system will freeze your legs. There were some problems though, the compressor causes the engine to stumble a little. When the compressor turns on the idle drops 200-300 RPM. You can feel this when idling. The rough idle can cause other problems like broken a broken exhaust so I will address this in Part II.